by Daniel Taylor
April 2023
A beginner's guide to crypto storage options and best practice
Cryptocurrency is digital money that you control. That’s what makes it so powerful. But with great power comes great responsibility. The onus is on you to keep your digital assets secured so that you can access them on demand – but thieves can’t.
Whether you favour a custodial wallet (entrusting your crypto to some else) or a non-custodial one (keeping control yourself), each option comes with its own pros and cons. In this article, we’ll consider the practicalities of both third-party and self-custody solutions for storing your cryptocurrency. Along the way you’ll learn:
- How to store your cryptocurrency with a centralised exchange
- How to store your crypto in a self-hosted, or non-custodial, wallet
- How different types of non-custodial wallets work
- Identifying the best storage solution for your needs
Third-party custody (the ‘custodial’ wallet)
A third party is a platform such as an exchange, market or application that controls the public and private keys to your cryptocurrency. These keys are what provide the digital control over your money, allowing you to move your money around and transact using your crypto. In the third-party case, it is your chosen custodian’s responsibility to look after your crypto in their care: but it’s also your responsibility to ensure that adversaries (thieves; hackers; scammers) aren’t handed access to your funds.
Because logging into a third-party platform is administered via a username/email address and password, your security starts here. As with any digital service, the onus is on you to pick a unique, hard-to-guess password linked to an email account that is equally robust.
With your email and password locked down, the next step to fortifying a crypto account is to activate two-factor authentication (2FA). 2FA provides a secondary layer of security that an adversary must bypass in order to access your account. The most popular forms of 2FA are Google Authenticator, SMS, and physical keys such as a YubiKey. You can generally find these options under the account security settings for the platform in question.
Upon activating 2FA you’ll be asked to enter a code, if using Google Authenticator/SMS, or to connect the physical key to the USB port of the device. If possible, avoid using SMS as it is the weakest 2FA option due to the risk of sim swap attacks. With 2FA in place, it will be virtually impossible for an attacker to access your funds, short of compromising the platform/custodian itself.
Be careful to back up the recovery code you’re given when adding 2FA: otherwise if you lose the phone containing the Google Authenticator app, you could get locked out of your exchange account.
Self-custodying your crypto (the ‘non-custodial’ wallet)
If you’re uncomfortable with the idea of entrusting a third party with the care of your valuable crypto funds, you always have the option of self-custodying your crypto via what is known as a non-custodial wallet (more about which here).
Most importantly for storage, when using a non-custodial wallet it’s your personal responsibility to note down the backup phrase (sometimes referred to as a recovery phrase or seed phrase) that acts as the master access to all your crypto keys – and to be doubly triply sure to store it in a safe place. This is your storage and security priority number one, as anyone who has access to your backup phrase has digital control over your crypto and can spend it as they please. Not only that, but if you lose your backup phrase, there’s no one you can go to to get it back.
You don’t require this backup phrase every time you access the wallet, however; not only would having to enter this typically 12 or 24-word seed phrase on a daily basis be both impractical and highly unsafe, generally you will only need it if you were to lose access to your wallet or wanted to recover your funds in another non-custodial wallet.
Instead, most software wallets will give you a range of options for dictating everyday access. If the wallet is stored on your smartphone, these may include:
- PIN code
- Password
- Iris scan
- Fingerprint scan
The same methods you use to unlock your phone can generally be used to unlock your wallet. Note that these options may not be enabled by default when setting up the wallet. Check the security settings for the wallet app and enforce as many security measures as you desire.
In practice, the security level you set should be in line with a) the amount of funds you’re holding in the wallet and b) the frequency with which you’re accessing them. If a self-hosted wallet contains a life-changing amount of crypto, enforce a high level of security with multiple safeguards (e.g. PIN + password), or consider a specialised storage solution such as a hardware wallet or a multi-signature wallet. Conversely, if the wallet contains only “spending” crypto or trading funds, and you’re using it daily, you might settle for a lower security threshold – or even prefer a custodial solution.
Hardware wallets
A hardware wallet is an offline, physical device for holding your crypto keys. It resembles a thumb drive but has a single function: keeping your digital money ultra-safe. When setting up a hardware wallet for the first time, you’ll be given a 12- or 24-word recovery phrase to note down, as is the case with any kind of non-custodial wallet.
To access the hardware wallet, you’ll be prompted to enter a PIN code. The device will lock you out should you enter the wrong code three times in a row, which should be enough to prevent unauthorised access – just make sure you don’t note your PIN or recovery phrase in the same box as your hardware wallet. If you’re using a hardware wallet for long-term crypto storage, keep it in a safe place such as a strongbox or deposit box.
Finding a balance
There’s no such thing as perfect security. Cryptocurrency exchanges can be hacked; smartphones can be lost; hardware wallets can perish in house fires. When considering the optimum storage solution, your goal isn’t to eliminate every conceivable attack vector. Rather, you’re aiming to strike a balance between reducing risk while maintaining accessibility.
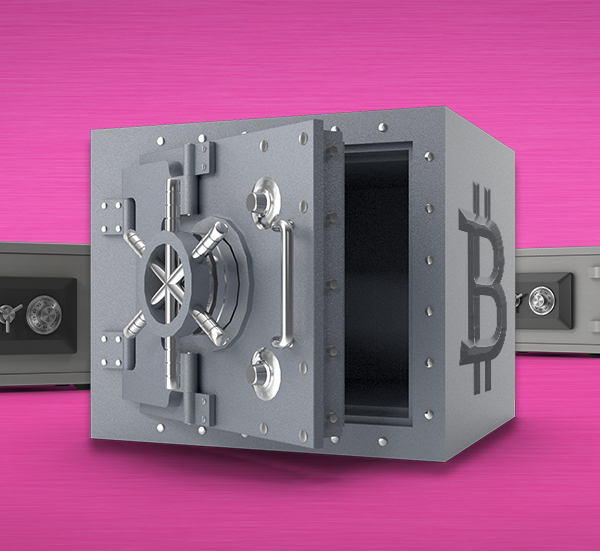
A hardware wallet that’s locked inside a bank vault may be safe, but what use is that when you need to access your funds in a hurry? Safely storing your crypto needn’t be complex or cumbersome. A well-designed software wallet – be it mobile or desktop – should combine user-friendliness with a range of security features.
Zumo is a mobile non-custodial crypto wallet that’s designed for long-term storage as well as everyday usage (added to which, we’re currently hard at work developing new features that will give you more options and more choice in the way you store and interact with your crypto). Whether you intend to access your crypto regularly, infrequently, or once in a blue moon, Zumo provides easy access coupled with robust security features that will allow you to sleep easy.
When setting up your Zumo non-custodial wallet, you’ll be prompted to set up a password and biometrics. These are used to sign into the wallet and send funds. Should you ever lose the wallet, such as by breaking your phone or deleting the app, you can regain access by freshly installing the app and entering the recovery phrase you were given when creating your Zumo account.
Ultimately, crypto storage is a trade-off, and your choice will depend on your personal preferences and the usage you have in mind. Whichever option you go for, pick a solution that works for you, practice good security and always remember the fundamentals of crypto storage.